Constructing a Charcuterie Board
I’m usually a season behind when it comes to fashion and decor (partly because I shop after-season clearance) and this trend was no different. I’ve been seeing beautifully presented charcuterie boards for a while now but just hadn’t jumped on board… yet. It wasn’t until a friend of mine planted in my head the concept of making my own that I really grabbed onto the idea. When I say “making” I mean constructing. Not just creating a beautiful and delicious presentation on a board that I bought, but actually designing and putting together the actual board.
I’ve used just enough power tools and done just enough woodworking to be dangerous. This project really was not hard, but did require the right tools. Sometimes that’s the defining factor in a project. Thankfully we had what we needed on hand.
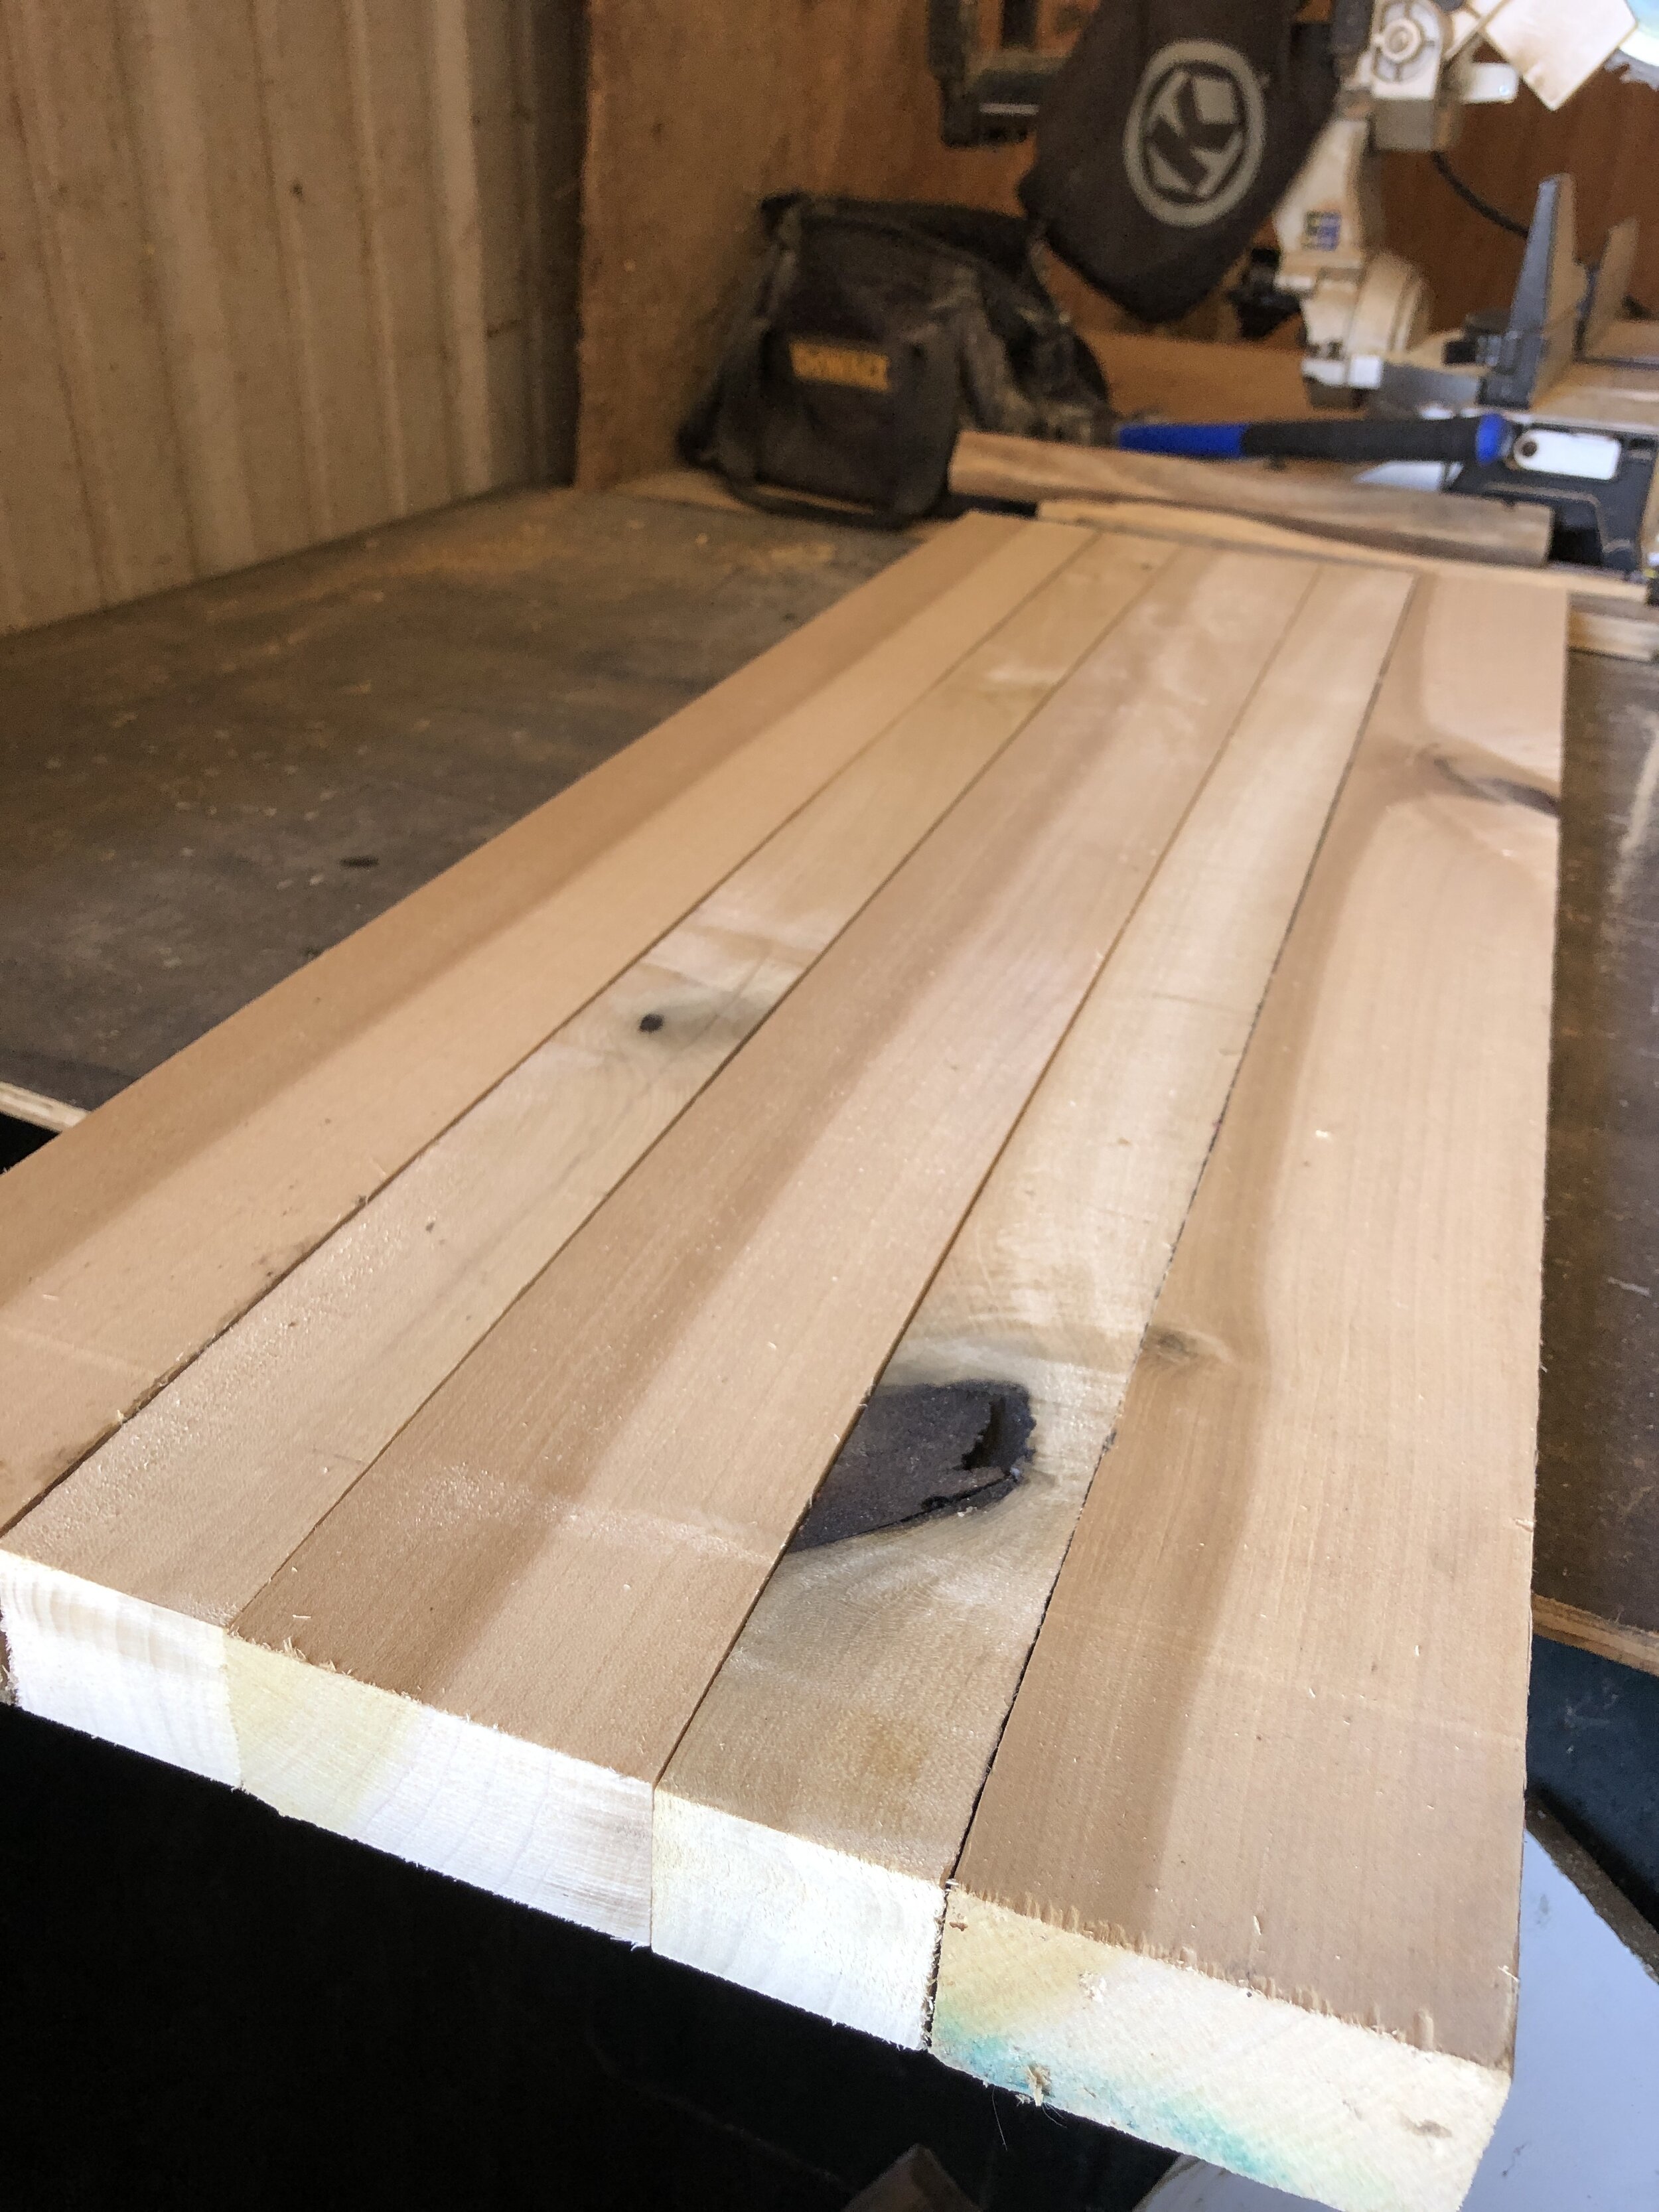
Just like with the wall hangings I did last week, I wanted to use materials we already had. In the barn I found some scrap pieces of poplar that Matt had used for the desktop in our laundry room makeover. They were just the right thickness and there was enough wood to create a good size board.
I had three long pieces available. Two were the same width and one was a little smaller. I cut each of them in half and picked out the five best pieces. They weren't all exactly the same length, but I didn't want to cut them to size just yet. That would be done closer to the end to ensure I only had to do it once.
I gave each of the boards a quick sanding and laid them together how I wanted them. During this step I had to make sure they would fit together tightly. If there was a gap that was too big, I had to sand some more until they fit together snugly. If there were spaces in between the boards, it would be virtually impossible to keep it clean.
The next step could have been done two different ways. I chose to glue the boards one at a time to make it easier to work with, but if time was an issue, all of the boards could be glued at once. I got them all glued together and dry in a couple of days, in between some other projects.
Once the glue was good and dry, it was time to beautify this thing. Matt walked me through flipping the blades on the planer so I would get good, smooth cuts each pass. We ran it through the planer over and over and over until the top was completely smooth. Then we flipped it and did the same to the bottom. Once that was complete, I cut off the ends with a chop saw to make them even.
One of the characteristics of a charcuterie or pancake board is the smoothness of it. Smooth=Shiny (not necessarily glossy, however). For this to happen, sanding had to happen next. I used a hand sander with 120 grit paper first, then finished off with 320. It was as smooth as silk. At this point, I noticed there was a small crack between two of the boards and a couple of tiny holes around two of the knots. I used wood filler to take care of these, then ran the sander over it once more.
The poplar I used was a very light color but I really wanted a slightly darker finish. Since this needed to be food-safe, I couldn't use traditional stain. In researching my options, I chose to try black tea. I already had some that we weren’t using and I needed to get rid of it. (We had inadvertently bought caffeinated family size bags, but we don’t need caffeine by the gallon around here.) I boiled around 2 cups of water, then steeped 5 family size tea bags for a long time... maybe 30-45 minutes, because I forgot about them. Thankfully, the final concoction turned out just the way I wanted it. Using a rag, I applied a good amount of the tea all over the board and rubbed it in. Once dry, I applied another coat. Something I discovered in doing my stain this way is that water based substances raise the wood grain when applied. Because of this, my board was no longer smooth. Again, I ran the sander over it lightly (I didn’t want to lose any color) until it was the desired smoothness again.
At this point, I let it dry overnight. The next morning I applied 3 coats of Howard Cutting Board Oil, then 3 coats of Howard Cutting Board Conditioner (wax), allowing it to dry 20-30 minutes between each coat. This ensures that the board is food-safe and it doesn’t absorb liquid or stains as easily.
Many charcuterie boards do not have handles, but I wanted mine to have them. I found these at Hobby Lobby, but I wasn’t able to buy traditional cabinet handles. Those are normally attached by putting the screw through the back of the door and into the backside of the handle. The nature of this project didn’t allow for that, so I had to find handles made to insert the screws through the front side of the handle and into the board.
I’ve very pleased with how it turned out and I have a feeling I’ll be using it for lots of different things.
{Check out Instagram to see some videos of the process.}


