Diy Wall Hangings
So, Matt and I have done some woodworking and DIY projects over the years, but either he does them alone or we do them together. There aren’t many I have done completely alone, but I wanted this one to be special. It is definitely not perfect, but I sure did learn a lot in the process. My goal was to spend very little money and use mainly supplies we already had. The final product was to be an early Valentine’s gift for Matt.
The idea for this project was born from my frugality and over the course of a week or so, developed into what it is now. We are in the middle of our bedroom makeover and I was trying to decide what to put over our bed. I was searching on etsy and found things similar to what I wanted, but they were just too expensive. I want the projects I do to be reproducible at minimal cost… this included. I also wanted to highlight our wedding vows and verses, as these are very special to us. We didn’t realize it 20 years ago, but they have perfectly represented our marriage.
I had a few goals with this project:
Minimal cost
Not heavy / easily hangable
Reproducible
All of my appendages to remain intact
I knew I had the wood needed to create this and I was fairly confident I could put them together alone. One of my main issues was the lettering. I do not have a vinyl cutting machine (Cricut, etc) and I wanted this to be on a larger scale, to fill the wall where I needed it to go. Thankfully, we have a good friend who owns a sign company and he seemed happy to help me pull this off. I’m not sure he knew what he was in for. :) The lettering could easily be accomplished on a vinyl cutting machine, but the size would be limited to the size of the machine.
I first took a trip to the barn to see what I had to work with. I was able to find a piece of solid wood plywood that was close to the height I wanted the finished product to be. It was really long, so I was able to cut both of my pieces out of it. There were a couple of issues with this piece - it was bowed and had some screw holes in it, but I was able to work around those. (In hindsight, I would have made sure the board was straight and flat. It would have made it a little easier.)
Before I could do much with my two pieces, I had to get them flat. To accomplish this, I found some pallet wood boards that had been ripped down pretty small. I cut these to the height of the plywood and attached them in three places on each. This did two things - it flattened the boards almost completely and it gave me something substantial to attach the frame to in the end. I then gave everything a good sanding, which not only cleans up the rough spots, it gets a lot of the dirt off, too.
Once I had my boards cut to size and the braces attached, it was time to paint. I used some black wall paint I had purchased for another project. Only the top had to be painted, as the sides were going to be covered with a frame.
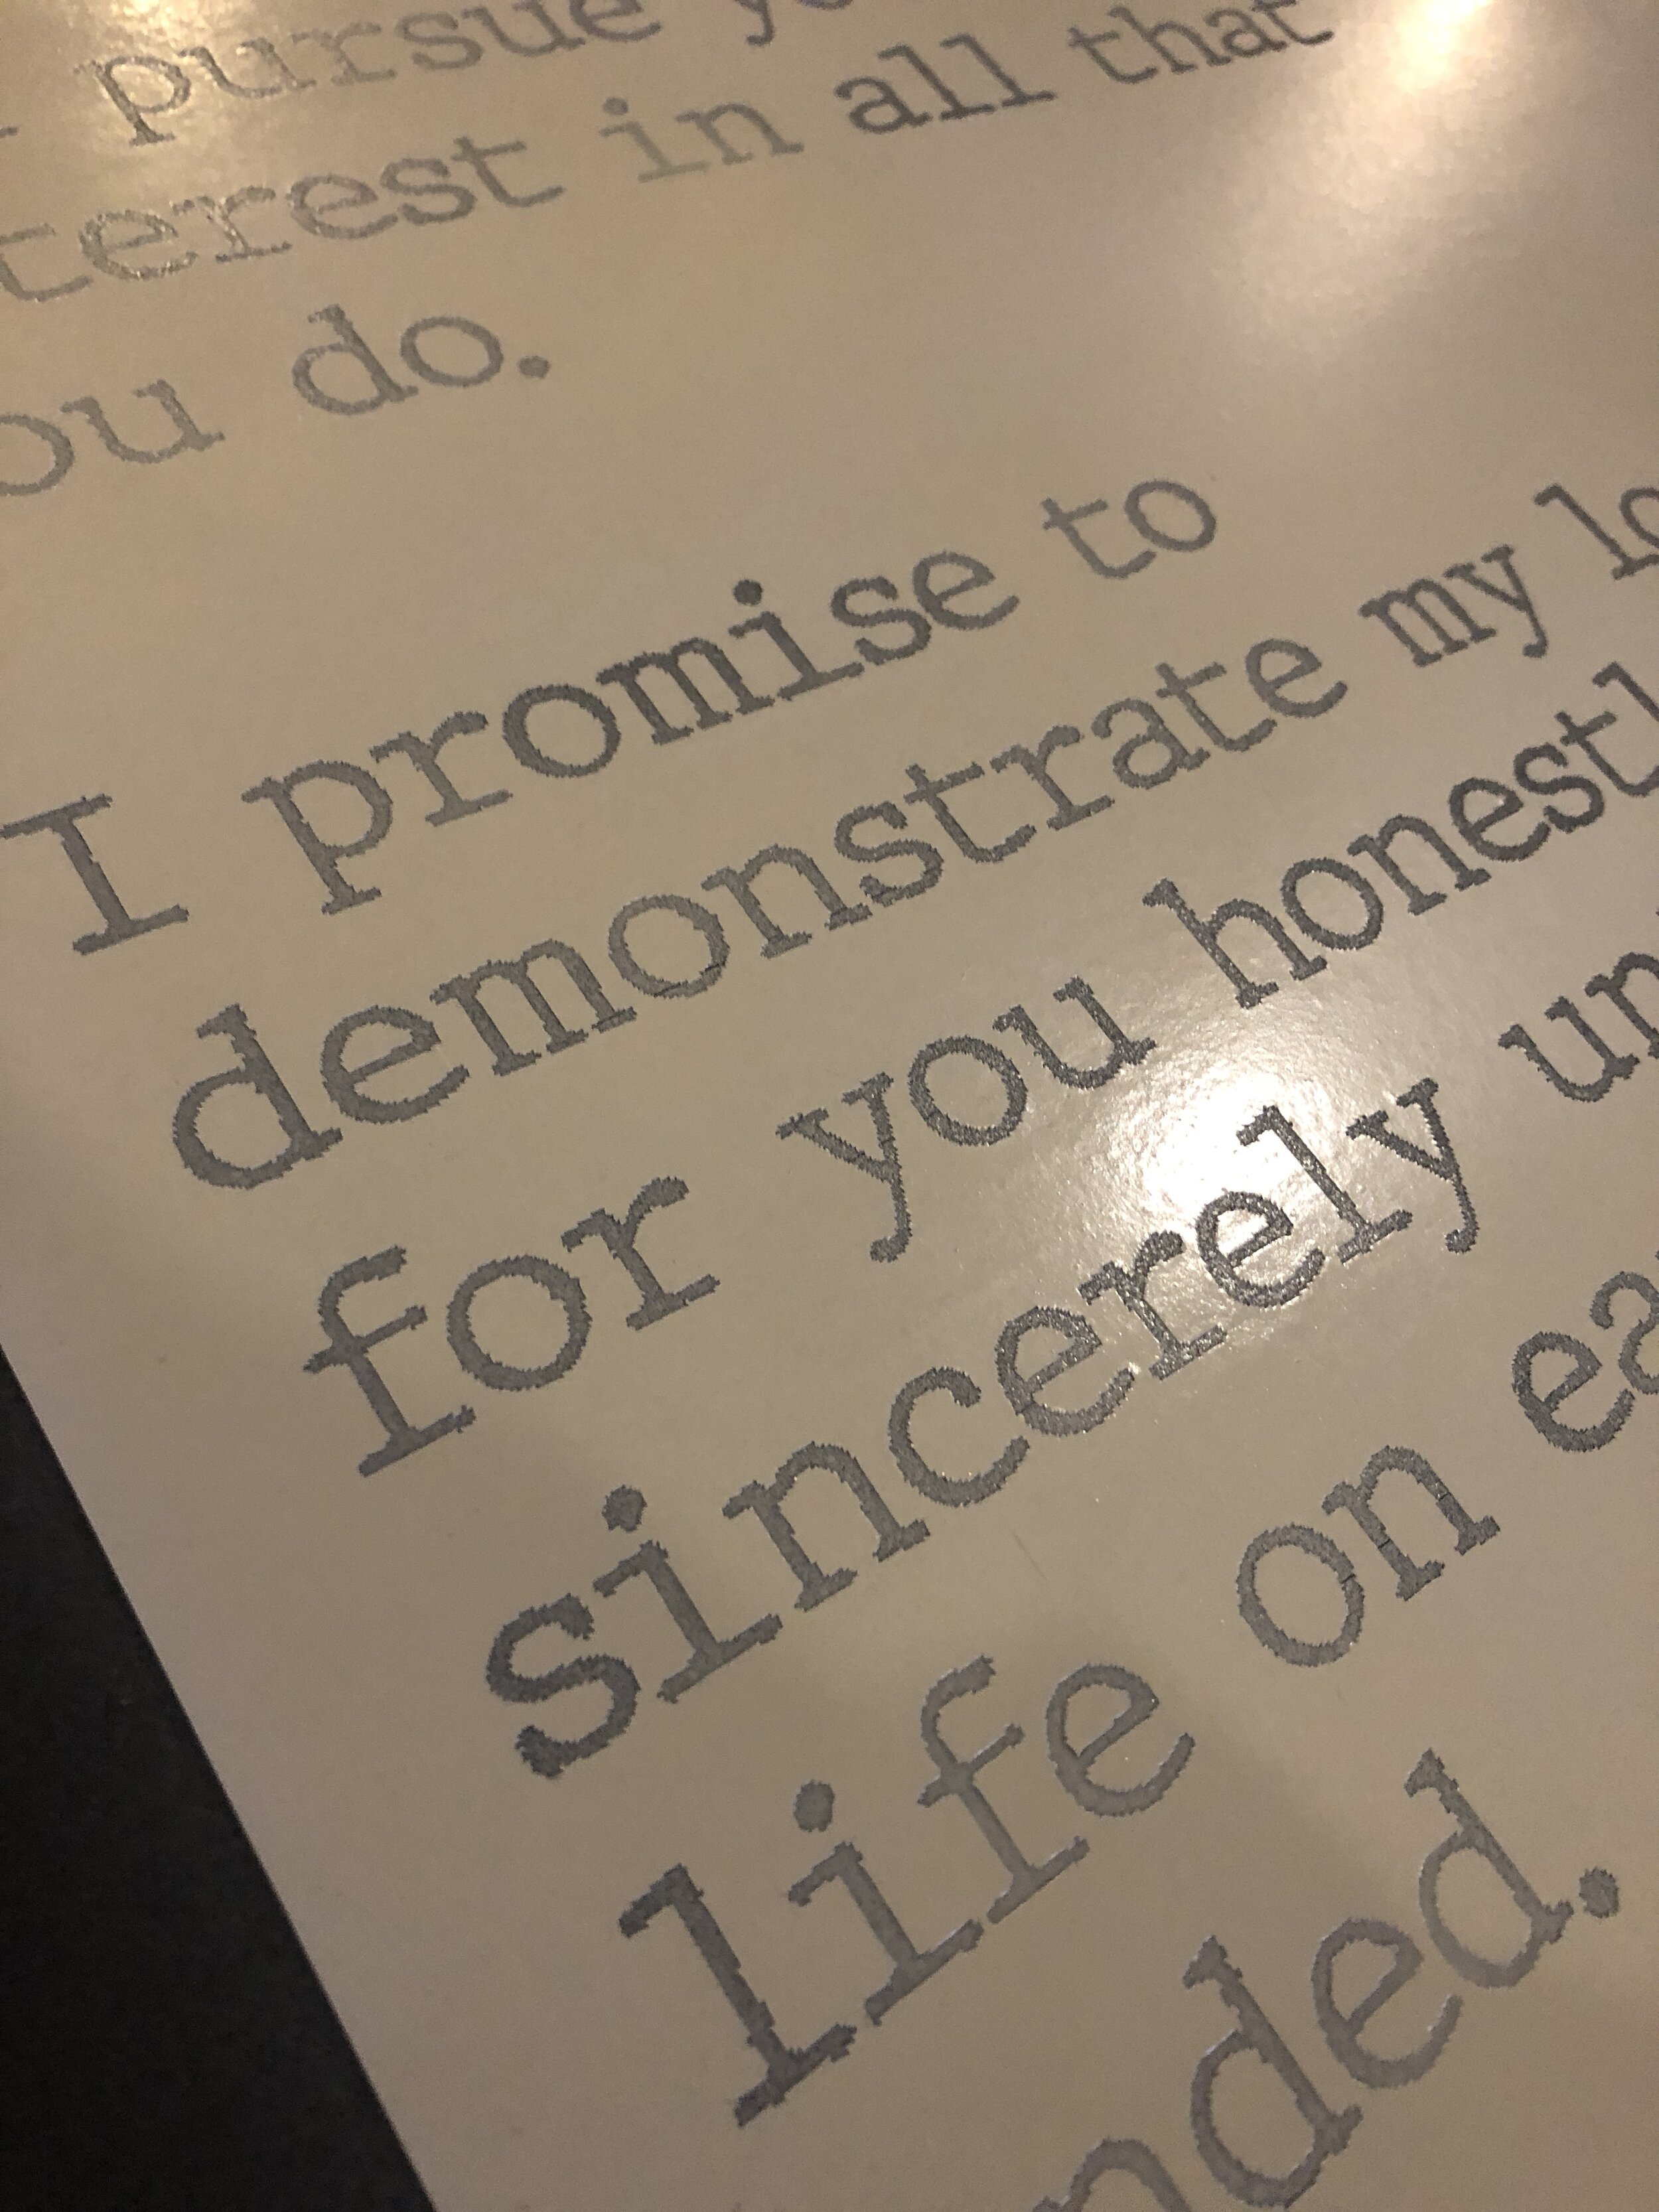
Once painted black, I was ready for the vinyl. I had designed what I wanted it to look like and proofread multiple times. I then went to the sign shop and we got it all typed up and formatted. When I left there, my vinyl was being printed and he had agreed to place it on the boards for me. He sent me a picture the next day and he had used the large piece of vinyl as the stencil and removed the individual letters. This was not my original plan, but we decided to roll with it anyway. (He offered to redo it, but I wanted to see how it would turn out this way.)
*I initially had planned to have the wall hangings white with black lettering. The vinyl letters would serve as a stencil on the black and I would paint the entire piece white. Once dry, I would remove the letters to reveal the black underneath. However, our friend and I miscommunicated. I am incredibly happy with how they turned out, so I’m not sure I would have liked them as well if my original plan had worked.*
Once I got the pieces back from him, I sprayed three light coats of off-white paint over the whole thing. He suggested I use spray paint as opposed to a brush or roller to eliminate potential thick spots. Once that dried I peeled off the large portion of the stencils, then picked off the remaining pieces with my frozen fingernails (it was 33° in the barn).
I didn’t want a completely clean look so I distressed them with a hand sander and fine grit sandpaper (220 grit). Thankfully distressing covers over a multitude of flaws. :) When I had them the way I wanted them I then added the frame. I used natural pine trim pieces cut down to size. Using a nail gun, I attached them to the braces I had added to the back in the beginning.
Overall, I was pleased with how they turned out. Matt was completely and pleasantly surprised. He had no idea what I had been working on. They are definitely not perfect, but they represent our last 20 years well.
{Check out my latest Instagram stories for some videos and additional pictures of the process, as well as Matt’s reaction to receiving them.}


